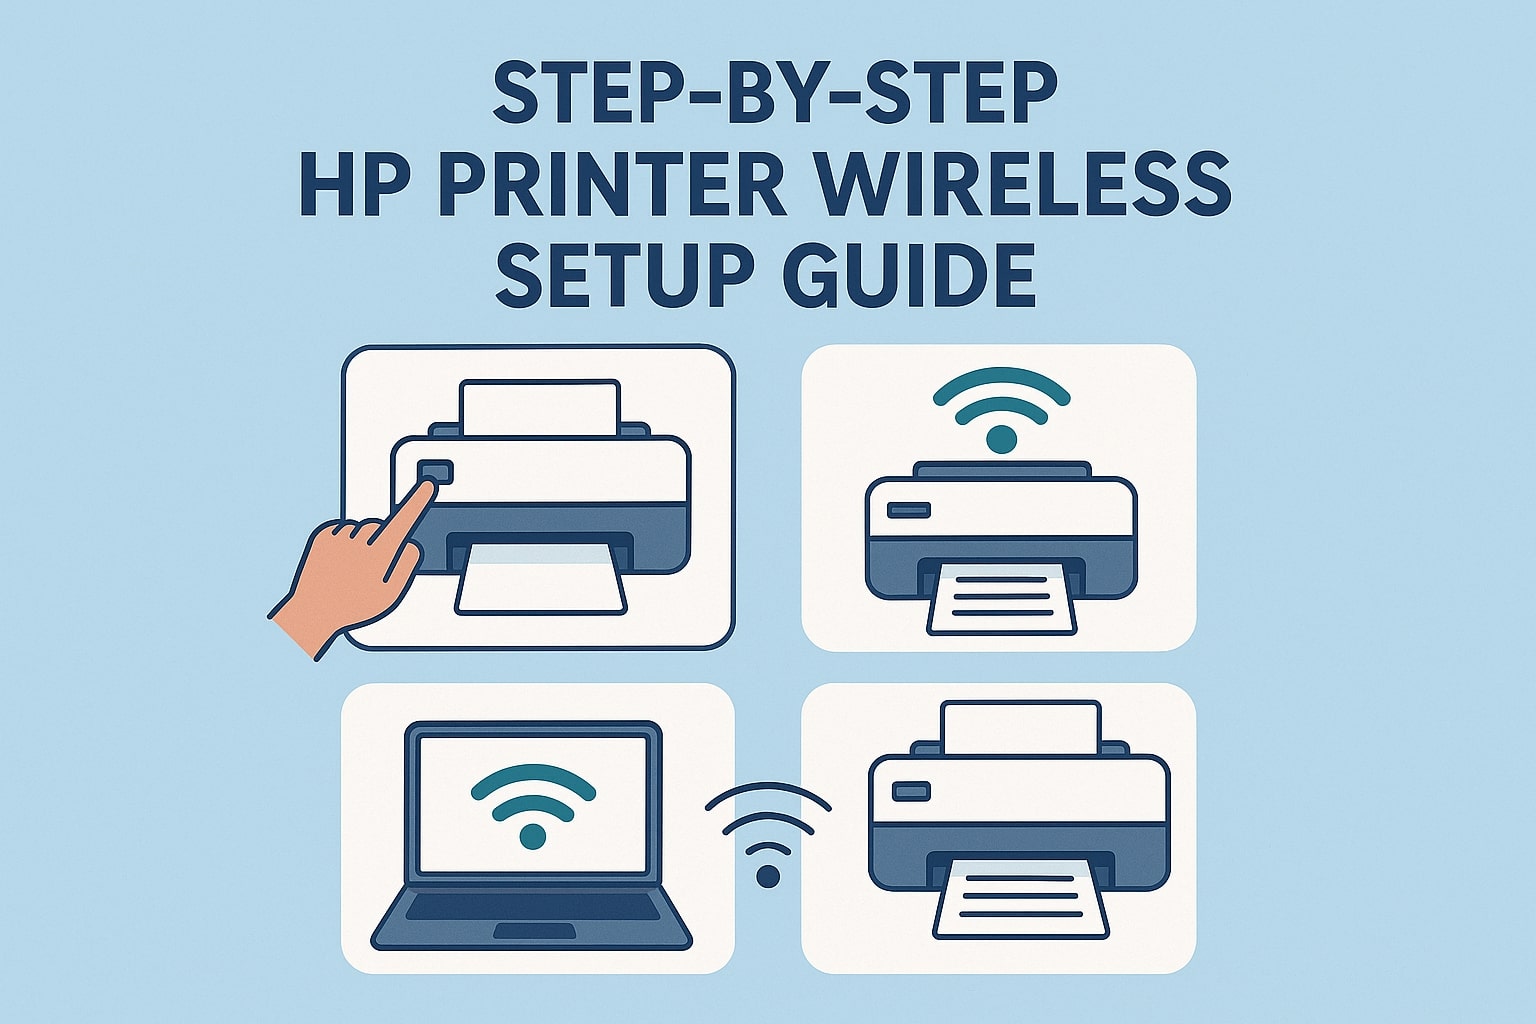
Setting up your HP printer doesn’t have to be complicated! In this HP Printer Wireless Setup guide, we’ll walk you through everything you need to know to connect your printer to Wi-Fi, install the right software, and start printing seamlessly. Whether you’re using a laptop, desktop, or smartphone, this step-by-step tutorial will help you complete your HP printer setup in just a few minutes.
Why Choose a Wireless HP Printer?
Wireless HP printers have become the preferred choice for both home and office users due to their ease of use, flexibility, and modern functionality. With wireless printing, you can print directly from multiple devices without dealing with tangled cables. Plus, HP’s advanced wireless technology ensures stable connectivity and high-quality printing across all devices on your Wi-Fi network.
Some benefits of wireless HP printers include:
-
Convenient Printing: Print from laptops, smartphones, and tablets without physical connections.
-
Shared Access: Multiple users can print using the same printer over the network.
-
Clutter-Free Setup: No more messy cables taking up desk space.
-
Smart App Support: HP Smart App allows easy management, scanning, and troubleshooting.
Now, let’s move on to the actual setup process.
Step 1: Unbox and Prepare Your HP Printer
Start by unboxing your HP printer and placing it on a flat surface near your Wi-Fi router.
-
Remove all packaging materials, tapes, and protective films.
-
Plug in the printer and turn it on.
-
Install the ink or toner cartridges carefully.
-
Load plain white paper into the tray.
Ensure your printer display panel lights up and shows the initial setup screen. If prompted, select your preferred language, country, and region.
Step 2: Connect HP Printer to Wi-Fi Network
Most HP printers come with a Wireless Setup Wizard that makes connecting to Wi-Fi easy. Follow these simple steps:
-
On the printer control panel, press the Wireless or Network button.
-
Select Wireless Setup Wizard from the menu.
-
Your printer will search for available Wi-Fi networks.
-
Choose your Wi-Fi network name (SSID) from the list.
-
Enter your Wi-Fi password using the printer’s touchscreen or keypad.
Once connected, your printer will display a confirmation message or the wireless light will turn solid blue.
If your printer doesn’t have a touchscreen, you can connect it using the HP Smart App or WPS (Wi-Fi Protected Setup) method:
Option 1: Using HP Smart App
-
Download the HP Smart App from the official HP website, Google Play Store, or Apple App Store.
-
Open the app and click on Set Up a New Printer.
-
Follow the on-screen instructions to connect your printer to Wi-Fi.
Option 2: Using WPS Button
-
Press the WPS button on your Wi-Fi router.
-
Within 2 minutes, press and hold the Wireless button on your HP printer.
-
The connection will establish automatically.
Step 3: Install HP Printer Software and Drivers
After your printer is connected to Wi-Fi, it’s time to install the necessary drivers and software for your computer or device.
-
Visit the official HP support website: 123.hp.com/setup.
-
Enter your printer model number (e.g., HP DeskJet 4155e, HP OfficeJet 8020).
-
Download the latest full-feature driver package compatible with your operating system.
-
Run the downloaded file and follow the installation prompts.
During installation, choose the Wireless Connection option when asked how you want to connect your printer. The setup wizard will automatically detect and connect to your wireless printer.
If you’re using a smartphone, the HP Smart App will handle both software installation and connection setup.
Step 4: Add the Printer to Your Device
Once installation is complete, you’ll need to add the printer to your device for printing access.
For Windows Users:
-
Go to Settings > Devices > Printers & Scanners.
-
Click Add a printer or scanner.
-
Select your HP printer from the list.
-
Click Add device to complete the setup.
For macOS Users:
-
Open System Preferences > Printers & Scanners.
-
Click the + icon to add a new printer.
-
Choose your HP wireless printer from the list.
-
Click Add to finish.
Now your printer is ready for use across all devices on your network!
Step 5: Test the Wireless Printing
Before you start printing documents regularly, it’s best to run a quick test print:
-
Open a document or image on your computer.
-
Select File > Print.
-
Choose your HP wireless printer from the printer list.
-
Click Print.
If the printer successfully prints your test page, your wireless setup is complete.
You can also print directly from your smartphone using the HP Smart App by tapping Print Documents or Photos, selecting your file, and hitting Print.
Troubleshooting Common HP Wireless Setup Issues
Sometimes, you may encounter small hiccups during the setup process. Here’s how to fix the most common problems:
-
Printer Not Connecting to Wi-Fi: Ensure your Wi-Fi network is working and your printer is within range. Restart both your printer and router.
-
HP Smart App Not Detecting Printer: Reset the printer’s network settings and retry setup through the app.
-
Frequent Disconnections: Update your printer firmware from the HP support website and avoid connecting to guest or public networks.
-
Slow Printing Speed: Reduce print quality settings or check for software updates.
If these solutions don’t work, you can always reset your HP printer’s network settings and repeat the wireless setup process.
Step 6: Enable Cloud Printing (Optional)
HP printers are compatible with HP ePrint and Google Cloud Print, allowing you to print documents from anywhere using an email or cloud service.
To enable HP ePrint:
-
Open your printer’s Web Services menu.
-
Enable ePrint.
-
Register your printer with your HP account.
Now you can print from any device by simply emailing your documents to your printer’s email address.
Final Tips for a Smooth HP Wireless Printing Experience
-
Keep your printer’s firmware and drivers updated regularly.
-
Avoid changing Wi-Fi passwords frequently to prevent reconnection issues.
-
Use the HP Smart App to monitor ink levels, check network status, and troubleshoot errors easily.
-
Maintain your printer by cleaning cartridges and running diagnostic tests periodically.
Conclusion
Setting up your HP printer wirelessly is simple and efficient when you follow the right steps. From connecting to Wi-Fi to installing drivers and performing test prints, this guide ensures that even beginners can get their printer ready in no time. HP’s wireless technology provides the convenience of printing from anywhere in your home or office without the clutter of cables.
If you ever run into difficulties or require expert assistance, don’t hesitate to contact Printer Customer Service Number for immediate support and troubleshooting help.